Sandcastles are fun to build, even if you are too young for a bucket and spade. Here are some ideas of how to use sand creatively in your sandpit or sandbox in the garden.
What are different types of sandcastles?
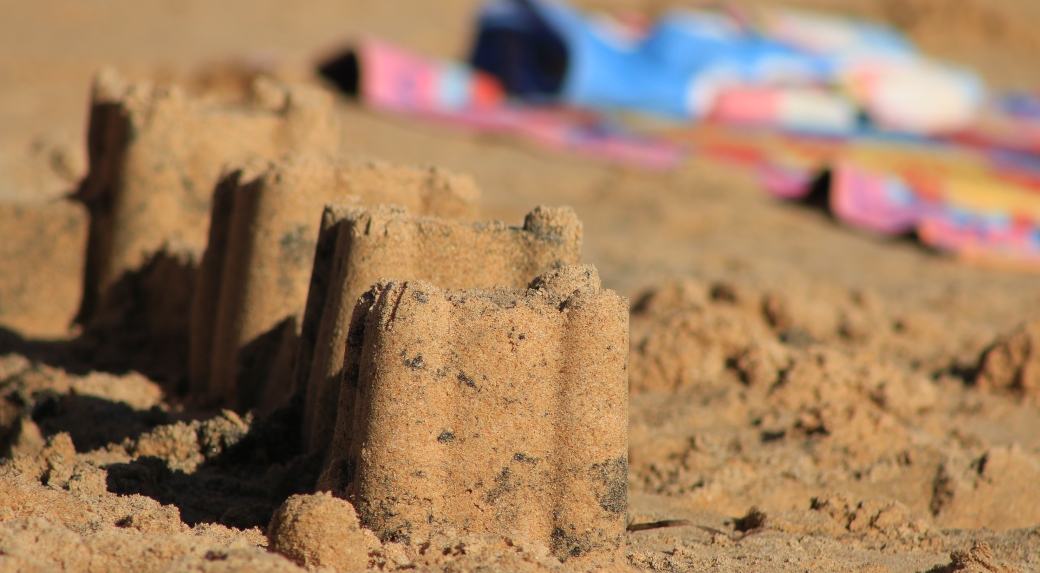
There are two main types of sandcastle: the first is a simple pile of loose sand with a small hole for a moat. These can be very effective and quite easy to do. The second type involves using water and buckets or spades to build up layers on top of another. It's obviously not possible to put water in the middle of your sandbox, so this usually means getting it out in a bucket and tipping it in carefully.
Drip castles
This is the simplest type of castle. Just take a small handful of wet sand and squeeze it out to make a drip. Do this around the edge of your sandpit or sandbox until you have enough to make a moat all around the edge. If you want an island, put some on top of some wood or bricks for height.
Nesting castles
Make two piles of sand on either side of your sandbox with about 5cm (2in) in between them. Then build up towers by making layers inside each archway with loose sand poured into the gap - keep tipping it into your hand first before putting it down! You can then lay sticks over the tops as bridges if you like. Make little heaps on top so they stick up in peaks. Or, try two towers with a bridge through the middle.
Sand domes
This is quite good fun to do, but can be messy so use your sandbox rather than your patio unless you have time to clear it up afterward! Take another handful of wet sand and shape it into a ball in your hand before letting it fall down onto the center of the tower made with the 'nesting castles'. Keep adding little balls of sand on top until they build up to make a dome - poking holes in them first makes this easier. If one starts falling over, add some more underneath for support.
Stitched castles
For this, you'll need some big sticks (or cray or skewers) and enough small stones to cover the top. Build up towers using the stacking method, putting in a few sticks as you go - one or two are enough, otherwise, it will start to look too much like scaffolding. Then cover with stones and leave it for a little while so they can dry out before building layers on top of each other to build up domes - this is easier than stacking towers. If your stones collapse, don't worry - just rebuild them all again straight away!
What can you build?
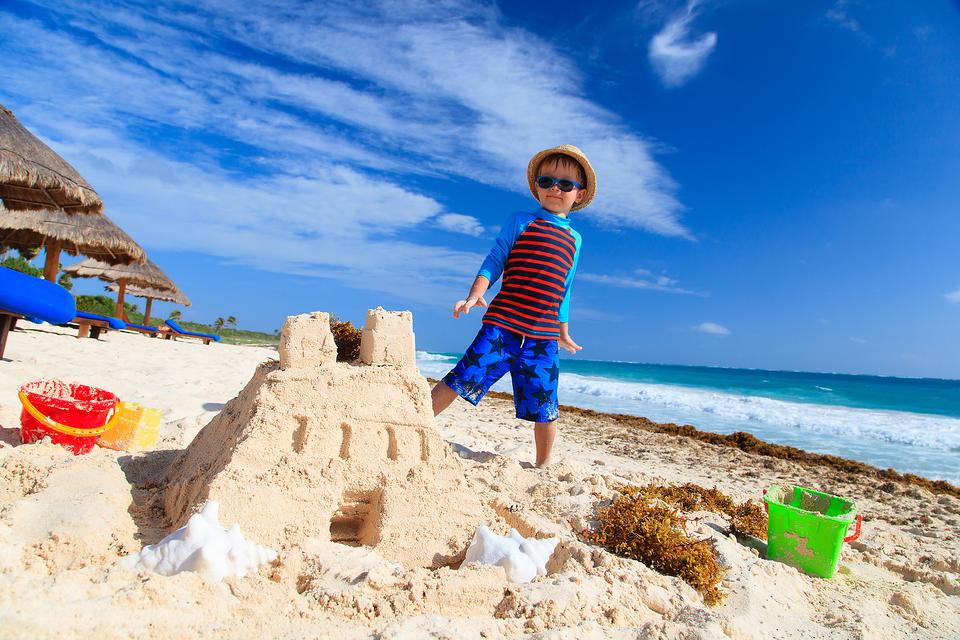
- Classic sandcastle
Using a bucket and spade is the most obvious way to make a sandcastle. Fill the bottom of the bucket with wet sand, pack it down slightly, then dig out more sand from around it. Add water to moisten if necessary, but try not to cover the top of your castle too much as you will need somewhere dry for your flagpole.
Give each child their own trowel or small spatula that they can use to build their own castles. Keep an eye on younger children so none are eaten by the sea!
If you have very young children who aren't ready for a full bucket and spade yet, give them some smaller tools so they can help extend the castle wall, or fill in holes made by the bucket and spade.
- Multiple towers
Create multiple sandcastles around your sandpit or sandbox. As you make each one, surround it with a moat (of wet sand) and put a flag up in it. The smaller castle can house a princess in her bedroom, while the others can be home to her knights and soldiers or space pirates!
- Moulding in mini beach buckets
Fill small plastic buckets with play sand, top up with water, mix well and leave for ten minutes until the mixture has firmed enough to create shapes when moulded into plastic containers or paper cups using cornflour or salt as a release agent.
The resulting sculptures will last longer if the surface is coated in jam or honey after they have dried out. Sandballs can be made by adding water gradually to dry sand, which takes time but eventually makes firm, compact balls that won't crumble when thrown at walls.
- Mud kitchen
If you have younger children who just want to create something rather than build an entire castle, give them some tools for making mud pies instead. They will enjoy squishing the mud together and patting it flat to create their own kitchen areas where they can prepare dishes ready for dinner time, or perhaps breakfast time! Sheep may even come by every now and then for a snack, but don't let them eat the whole kitchen!
- Drip-art sandcastles
This is more of a medium for bubble and drip art than an actual sandcastle, but there are plenty of ways to use it creatively. Add water to dry beach sand mix and create your own landscapes which can be decorated with tiny plastic dinosaurs, people, and cars. Bubble mix on its own will make bubbles that you can blow through straws or bendy drinking sticks over the dunes as they form.
For example, you can make a model beach by laying down some blue tack or blu-tack to represent the sea, then using white sand to make streaks of waves. Drip paint over it with food coloring to make sunsets and clouds, or use glitter glue for stars at night time.
- Downward sandcastle idea
Build a sandcastle but make the base slightly wider than usual. Instead of adding water to the top, add it to the bottom instead. Gradually build up until there is no more space at the bottom, then pour water over the castle walls and watch them start to crumble! You can try this with bubble solution or shaving foam too, which will give your sand creation an extra-sparkly effect as it pops.
Cornflour/cornstarch can be used as a release agent for wet sand if you don't want to use jam or honey on clean sculptures where children have been licking their tools after playing in the sandbox. If you are concerned about cross-contamination due to gluten allergy/intolerance, put down some flour instead in case you don't have cornflour/cornstarch available.
- Sea beasts from sand
Form little piles of wet sand for beach animals such as crabs, shells, and starfish. Add dry sand to each pile and press it down until the animal has a smooth shape. Draw eyes on them with a stick or other tool, then cover their backs with more wet sand and add fins/flippers, tails, and other features. They will eventually dry out and harden into permanent sculptures which can be collected up afterward by simply brushing off any excess dry sand before storing in a bucket ready for next time!
Give each child their own trowel or small spatula that they can use to build their own castles. Keep an eye on young children so none are eaten by the sea! If you have very young children who aren't ready yet for traditional sandcastle building, give them each their own bucket of water and let them explore pouring. Teach children to avoid other people's areas if they are still playing with this simple activity.
How do you start building a sandcastle?
Place a mound of sand in the center of your designated play area. Smooth out the very top to make it as flat as possible, then dig a little hole using a trowel or other small digging tool so that there is a slight indentation where you want to place the moat around the perimeter of your castle.
Use a spatula or large spoon to create walls by scooping up excess sand from inside the hole and bringing it outside. Keep filling until you have two or three layers which gradually get smaller as they meet at the top, then smooth everything down with your hands so that there are no lumps, bumps, or hollows.
Pour water into each layer slowly before adding more on top and pouring again until you have a nice smooth castle surface. Splash the sides of your sandcastle with water too if there are any cracks orbits that you want to fill in more, then let it sit for 10-15 minutes before playing.
Sandcastles don't just have to be on beaches! If you're feeling adventurous, take your sand toys inside and make castles out of cereal, beans or even dried pasta. You can lay down different 'terrains' of these different materials next to each other for cool mixtures like beach/mountain landscapes. Add some small cars, animals and people made of plasticine (playdough) to give them something else to play with while creating their own worlds!
How do you make sandcastles more solid?
To make the sandcastle more solid, follow the same steps as usual but once you have at least three layers of sand in your moat, take a plastic bottle with you to the beach and fill it with water. Pour the water directly on top of each layer of sand then smooth down each one separately before adding another on top.
When all your layers are done, use a trowel to pull up some wet sand from around the bottom perimeter of your castle wall. Hold onto the trowel while moving backward over your work area, letting gravity pull the wet sand back down so that it falls naturally between each layer and sticks them together even better than usual!
Note! Please be aware that this is an outdoor activity suitable for summertime only as the water eventually seeps between the sand grains and dissolves the cement holding them together - bummer! If you try these inside jars or tins, your sandcastle will be damp on the inside but dry on the outside which is more difficult if not impossible to fix. Either follow these instructions outdoors or just give each child their own sandbox area to play in.
Conclusion
Sandcastles don't just have to be on beaches! If you're feeling adventurous, take your sand toys inside and make castles out of cereal, beans, or even dried pasta. You can lay down different 'terrains' of these different materials next to each other for cool mixtures like beach/mountain landscapes. Add some small cars, animals, and people made of plasticine (playdough) to give them something else to play with while creating their own worlds!
To make the sandcastle more solid, follow the same steps as usual but once you have at least three layers of sand in your moat, take a plastic bottle with you to the beach and fill it with water. Pour the water directly on top of each layer of sand then smooth down each one separately before adding another on top.